Vermicomposting is a type of composting which uses specific varieties of worms, like red wigglers, to break down organic waste such as food scraps and plant material, into a nutrient-rich soil amendment called vermicompost or worm castings, a supurb supplement for gardens. Additionally, the process leaches out a nutrient dense liquid called 'worm tea', which can be diluted and used to water plants, both indoors and out. Vermicomposting occurs in a bin system, speeding up decomposition and producing a highly valuable fertilizer full of nutrients and beneficial microbes, ideal for small spaces and keeping food waste out of landfills. The worms are much faster at creating compost this way than through the process of managing a compost pile, however, on a smaller scale. Don't get me wrong, I still compost a lot of other stuff in the good old manure pile at the farm!!
My Vermicomposter
I started vermicomposting a number of years ago with a fancy set-up that I purchased online. It had 3 teirs and and a bottom trough to collect worm tea, plus a spiggot to drain that trough. It was a sleek operation, but took up alot of real estate and was awkward to move, when necessary as the seasons changed. So, I sold that one and made my own a few months ago, which is much more compact and moveable. See below for instructions on how to do this yourself.
Where to Find Worms
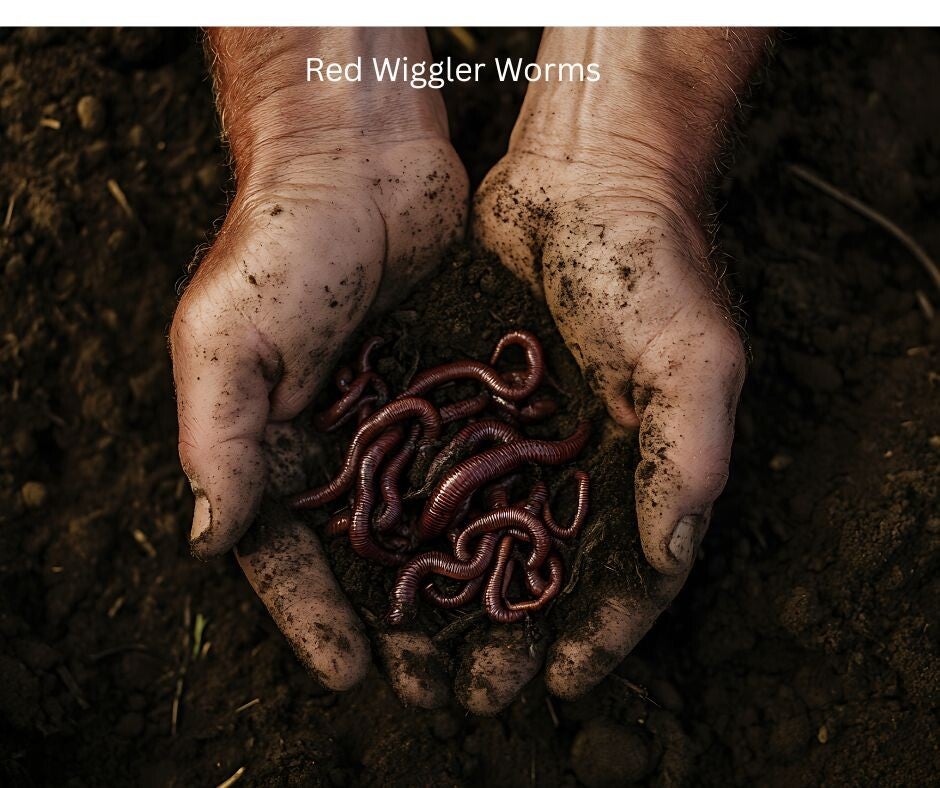
The hardest part of vermicomposting is finding red wigglers. They're the most efficient composters, so the leg work is worth it. I put an ad out on Kijiji and also searched both Kijiji and Marketplace. Ultimately, I found someone in Barrie, who was selling them by the 1/4 pound. I bought a 1/4 pound, for $25, to get me started again.
How to Make A Vermicomposter
Start with at least two plastic file folder bins that insert into each other but leave a gap at the bottom. They must have lids (or at least one lid between them). Leave the first bin, as the bottom, untouched for now (you can always drill a hole and attach a spigot later) Take the second bin and invert it on a solid surface. Use a drill 1/4 inch holes in the bottom and tiny holes in the sides up three inches from the bottom and down 2 inches from the top. Spacing about an inch apart. Do the same with the lid.


Setting up the Bins
Stack the bin, with the holes in it, on top of the intact bin. Line it with a couple of layers of plain cardboard, put in some bedding, about 2 inches worth, such as damp shredded newspaper or more cardboard. Top the bedding with about a 1/2 inch of plain potting soil, moistened. Add fresh compostable scraps on top and put your red wigglers in with those to get to work. The smaller you chop the scraps, the quicker they'll get composted. Place the landscape fabric over the top (this helps control fruit flies) and seal it with the lid. Leave it for at least 2 weeks before checking back and adding additional compostables, if necessary.
Vermicomposter Maintenance
Every 3-4 weeks, depending on how many worms you have and how much food you give them, check on the vermicomposter and add fresh scraps. Avoid over feeding though, as this can promote fruit flies and odours. Also, add additional dry bedding, mixed in with the scraps. About a 50-50 ratio. The dry bedding will help prevent the compost from getting too wet, which the worms don't like. When choosing which scraps to feed them keep this in mind: Vegetable/fruit scraps, , crushed egg shells, coffee grounds, tea bags (avoid citrus, meat, dairy, oils). Place the new scraps in a new location around the bin each time. This way you can easily monitor how much the worms are eating. Check the worm tea occasinally to save any worms that inadvertently fell in and drain off excess to use!
Keep the bins somewhere out of direct, hot sunlight and keep from freezing. I keep ours in the basement.

Harvesting Vermicompost
To reap the benefits of these amazing little composters, wait about 3-6 months from the time you set them up. Start by lifting the top bin off and pouring out the worm leacate below. Dilute it with water, about 1 part tea to 10 parts water. Apply to plant soil - only of ornamental plants. To make worm tea for veggie plants, there is a whole seperate process to steep the worm castings!
Secondly, you can harvest the worm castings by pulling out some, or all, of the worms and castings, into a pile, on a large surface in a well lit area. The worms will naturally move away from the light and you can pull away the castings from the surface area as they do this. Alternatively, you can pick the worms out by hand. Put the worms and any uneaten compostables back in the composter and feed the worms again. Use your worm castings as a top dressing on plants or mixed with soil as an ammendment. If you don't want to touch the worms, just use reusable kitchen dish gloves, saved for this purpose.
Expanding Your Vermicomposter
If you'd like to add another level to your composter, as I am doing, here's how. Take a third bin and drill 1/4 inch holes in the bottom 1 inch apart, and tiny holes in the sides up three inches from the bottom and down 2 inches from the top. Insert it gently over the bin half-full with worm castings and worms. Put fresh bedding and scraps into the top bin and the worms will naturally migrate up into it. Top it off with the landcape cloth and aerated lid.

Adding a Spigot
With the bottom bin empty of worm tea, position it on it's side, with the short side facing up. Use the appropriate sized drill bit for your spigot and drill a hole as close to the bottom of the bin as you can get, leaving enough space to twist on the retention ring inside (about 1/2 inch from the bottom). Insert the spigot and fasten the retention ring securely. Test it's water tightness with a bit of clean water before restacking your worm bins. Setting the bins up on a few bricks or 4x4s will make pouring off the worm tea easier.
Final Thoughts
There is plenty of good literature, and lots of how-to videos, online if you'd like to learn more about vermicomposting. It really is simple to set up and maintain on an occasional basis. I love the fact that I get super rich castings and worm tea year-round, especially to water my house plants in the winter and prepare for seed starting in March. I hope you are inspired to start your own vermicomposter!
Add comment
Comments
I love this post -- I've always been interested, but didn't know all of these great details about vermicomposting -- learning so much! Thank you! 🪱
So happy you liked it! thanks